Day of the Dead cometh early!
I had some fun yesterday playing again creating some funky colored skull beads. The more I learn about El Día de los Muertos (Day of the Dead) the more captivated I am by the bright colors and imagery used, as well as it's message. Check out my fun creative process below:
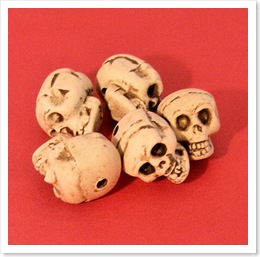
<--- Here's what the skull beads looked like before I colored them
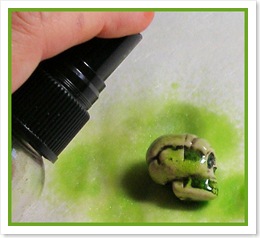
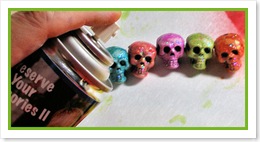
There are many ways you cancolor these skull beads, I chose to use my Color Mists and was amazed at how well they took them.
I next used the heat gun to dry the Color Mists slightly before I moved on to my next step...
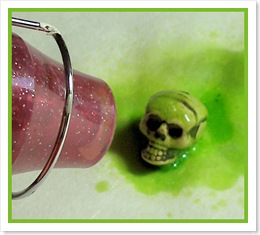
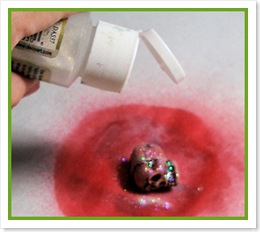
In this next step I sprinkled lightly with extra fine Crystal Glitter Dust (this glitter is extra fine and should be added while the piece is still slightly wet. It will stick to the wet paint without having to use any adhesives). *Optional you can mist slightly again and then dry once more with the heat gun (avoid using your fingers to move the bead around use a pencil or end of a paint brush until piece is dry).
Once I was all done coloring my beads I sealed them with PYM II
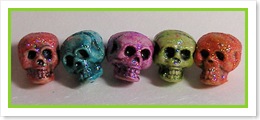
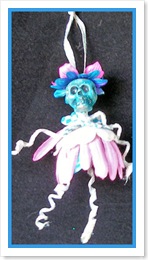
Here's my finished beads! Hmm..now what do you do with them...I have lots of ideas running through my mind. Just for fun I couldn't resist making a wee Day of the Dead Fairy (check out my fairy tutorial to see how to make it substituting the bead used).
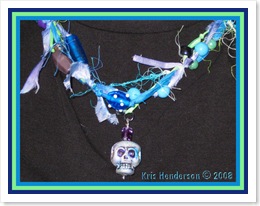
As for being really creative my friend Kris made some awesome neckwear using the colored skull beads. Only difference isn't a glitter queen like I am LOL
Check back for more Day of the Dead projects and click the HERE to view more Day of the Dead and Halloween product and ideas.


OMG, Aileen! Those are the CUTEST skulls I have ever seen in my whole life! I didn't even know I LIKED skulls!!! I really like what you did with them!!!!
ReplyDeleteYou (and Kris) certainly are going to make a very festive Halloween with these skulls.
ReplyDeleteJoanne
Your dry spell has indeed broken! I love these latest posts. That day of the dead fairy is just too cute. I think someone caught her in a jar and forgot to poke holes in the lid!
ReplyDeleteKaren
Too cool Aileen.
ReplyDeleteAileen,
ReplyDeleteI full well expected to see angel wings on your fairy.
Judy
Your skull fairy is adorable! And I love your CM'ed variety of skulls! I learned something new - I didn't realize the glitter would adhere to the Color Mists - I must try this!
ReplyDeletehugs,
jackie
Painting beads, that's a neat idea! What are the beads made of?
ReplyDeleteUnbelievably cool! Painted skulls -- does it make me sound weird if I say that's just my kind of thing?!!! I love these and frankly, the dead fairy is my favorite... maybe I'm just a little bleak these days!
ReplyDeleteYou know, I always see your postings on our ATC group boards when I don't have time to click over and visit (though I have been here before!). I am so glad, as I've been looking down the rolls to comment here! I'll be back!
These are SOOO fabulous! I'll be linking to this project!
ReplyDeleteThese are totally awesome Aileen!
ReplyDeleteThanks for sharing exactly how you colored them.
Jen
What a transformation! This gives me lots of ideas for Halloween!
ReplyDeleteHow cool are these!! Love them, so creative!
ReplyDeleteLove the beads! What a fun idea.
ReplyDelete