

Friday, June 29, 2007
For a friend...
Here's a chunky page I made for a friend from the new 4"x4" blank magnetic puzzles I just got in. Man is my mind going crazy with all the endless possibilities these have!! Not to mention they take the Color Mists awesomely without warping whoohoo!! I misted the background with Lime Jello, 22 Karat Gold, Tahoe Turquoise, Cobalt Blue and Emerald Green Color Mists , then blotted it lightly with a baby wipe and then dried it with the heat gun. Once dry I spread Crystal Lacquer around with my finger then added the shells and micro beads and image. Once that was all dried I edged with chalk inks and then a Krylon gold leafing pen.
Wednesday, June 27, 2007
Thanks!
Many thanks to everyone that has left comments and given me feedback on my new blog look...I appreciate you taking the time to look and comment...keep checking back because I'm still not satisfied and will be tweaking it more ;-)
I was on roll today and actually made few pieces of art and a charm....two of which are not done so you'll have to wait on the pictures for those, but here's a card I did as a surprise for someone. I used a Vintage bingo card, image and Color Mists: http://www.outsidethemargins.com/colormists.html
I was on roll today and actually made few pieces of art and a charm....two of which are not done so you'll have to wait on the pictures for those, but here's a card I did as a surprise for someone. I used a Vintage bingo card, image and Color Mists: http://www.outsidethemargins.com/colormists.html

Click to enlarge
Tuesday, June 26, 2007
Whoa!
Boy talk about major differences on how things look...I am now posting on my desktop computer whereas the changes I initally made were from my laptop and there is a vast I mean VAST difference on what the colors and the page look like Whoohowdy I am shocked! So for some it will be BRIGHT AND LARGE (kind a like me LOL) and for others it will be more on the sedate side and somewhat proportional...notice I say somewhat because either way it's not fitting right YET!
Still I'd love to know what you think of the banner at the top so leave me a comment and if you want a reply leave your email :-)
Still I'd love to know what you think of the banner at the top so leave me a comment and if you want a reply leave your email :-)
Changes
Like my new look? Bare with me I'm still tweaking things as I figure them out so keep checking back for the first of many changes until I get things to where I'm happy with it...right now I'm not, but I feel good that I got this far :-)
Here's some Precious Metal Charms (PMC) charms I made last week during an Art Party with my Peeps! I stamped using part of Kristy's new For The Birds stamp sheet from http://www.timetostamp.com/ . After I antiqued them with Liver of Sulphur
It was Bev's much belated birthday celebration! Here is her cigar box shrine Kris and I collaborated on for some reason through all the commotion I did not get an inside picture taken darn it!
Here's some Precious Metal Charms (PMC) charms I made last week during an Art Party with my Peeps! I stamped using part of Kristy's new For The Birds stamp sheet from http://www.timetostamp.com/ . After I antiqued them with Liver of Sulphur

Here's a picture of myself and my Art Peeps!

Digital Scrap Art compliments of Traci Sims
From left to right: My sister Kathleen, Myself, Lora, Bev and Kris.It was Bev's much belated birthday celebration! Here is her cigar box shrine Kris and I collaborated on for some reason through all the commotion I did not get an inside picture taken darn it!


What a great picture of Kris and Bev
and the yummy cake!
Sunday, June 17, 2007
Michael deMeng Inspired Pendants
I just finished a couple of pendants inspired by a class I took by Michael deMeng. I made using my funky hand pens. Below is a slide show I posted of my process.
Supplies Used
Funky Hand Pens
Metal Cutting Scissors
Crown & Face Charm
Bull Clip
Metal charms, washers or beads
Liquid Nails
Golden's Acrylics
Modern Options Sophisticated Finish Patinas
Gloves
Copper sheet
Copper Wire


Supplies Used
Funky Hand Pens
Metal Cutting Scissors
Crown & Face Charm
Bull Clip
Metal charms, washers or beads
Liquid Nails
Golden's Acrylics
Modern Options Sophisticated Finish Patinas
Gloves
Copper sheet
Copper Wire


Friday, June 15, 2007
Decorated Torsos
I received these new 12 inch Torsos in and just couldn't resist creating with them! What fun they are and boy are they heavy duty! They are double sided sticky backed and have 6 pre-cut holes to use or cover over...technically they're meant to be used as an earring holder, but since when do I use anything the way it was intended ;-)
Here's how I basically created the two torsos:
Supplies
12" Cardboard Torso
Deli Paper (scroll towards the bottom for deli paper)
Color Mists
Xacto Knife
Rub-ons, rubber stamps
Rub-ons, rubber stamps
Stazon Ink
Chalk Inks
Golden's Soft Matte Gel Medium (*optional)
Copper Washers and brads
Krylon Leafing Pen
Ribbon or Fibers
PYMII
Color your deli paper with the color mists (see techniques and samples for ideas) don't forget to make enough paper for both sides. Once the deli paper is dry peel off the sticky back on one side of the torso and lay down your paper and smooth it out with your hand, then cut around it with an exacto knife (its okay if it gets a few wrinkles in it that's the beauty of deli paper). If you'd like it really smooth apply a thin layer of soft matte gel medium with your finger working it into the surface and allow to dry and repeat on the other side. Once dry edge the torso with the chalk inks then decorate with rub-ons or stamp as desired. Use the chalk inks over the surface of the torso after you've stamped to bring out more of the color or tone down the rub-ons. Edge the torso and stand with the Krylon leafing pen. Seal with PYMII then add brads, ribbons, wings as desired.


Click images to enlarge
Monday, June 11, 2007
Slide Show & Book Review


"Elton"

"Gramps"

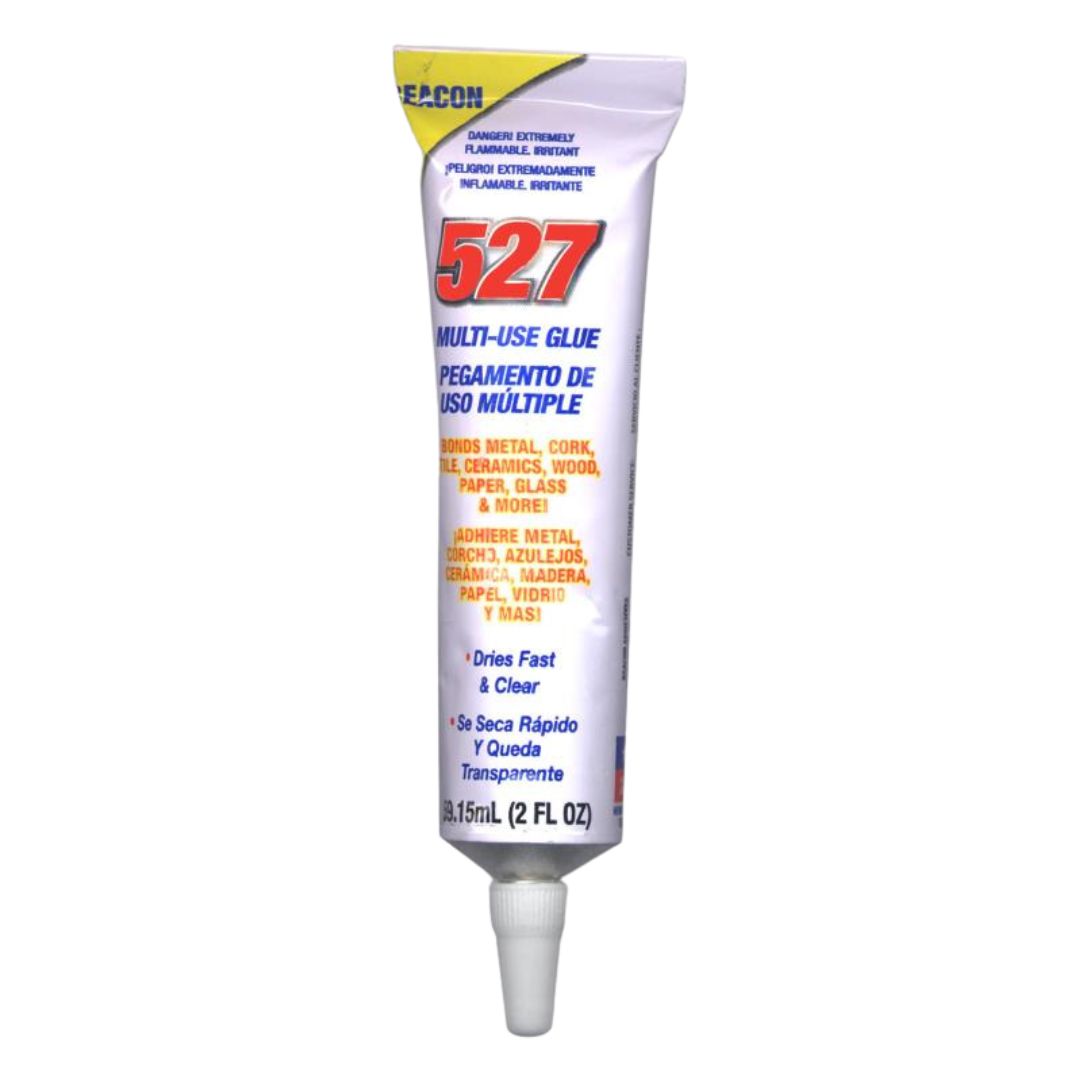
Here's a few pictures of my hot wheel assemblages from my Michael de Meng's class. What a fun class, I loved Michael as a teacher and highly recommend taking a workshop from him. Although there are many aspects of his class I already knew I still learned new things and it pushed me outside my usual comfort zone and I created pieces that aren't typical for me. Even though I love working with rust and grung, I did find I had a harder time with Michael's darker palette. Michael recommends using liquid nails to adhere objects but its not my preference I find that Liquid Nails takes way too long to set up and then when heated it gets goopy again. I have much better success and prefer the following adhesives because they do set up quickly are waterproof and I don't have to wait long: Bond 527 Adhesive, Quick Grip or Quick Hold Contact Adhesive, I can usually find at least one of these adhesives.
Here are a few more pictures of other people's pieces from the class:


Here are a few that I like to call the "Float Cars" because they remind me of colorfully decorated parade floats
Check out my sister's blog to see her Finished Cars:
http://exposeyourself2art.blogspot.com/
***********************
Book Review
There's seems to be a lot of mixed feelings regarding Michael's new book, I personally love it, but then I didn't have any preconceived expectations regarding it. Although Michael does explain how he does some of his art it is not a "how to" book. I found it refreshing, humorous, witty and insightful. I thoroughly enjoyed reading it and understanding more how Michael approaches his art.
Secrets of Rusty Things: Transforming Found Objects into Art.
Publisher: North Light Books (May 30, 2007)
Language: English
ISBN-10: 158180928X
ISBN-13: 978-1581809282
Saturday, June 09, 2007
Another Fairy Box and Milestones
I finished up the second Altered Fairy box from the box of chipboard letters I bought (see previous post for before pictures and the basic process I used).

**************************
I have a friend who referrers to moments in life with our kids as "firsts" and "lasts" and last night for me was one of those "lasts moments" my youngest son graduated from 8th grade the last of my 3 sons to graduate junior high and who now is officially a high schooler, where has the time gone! In the grand scheme of things an 8th grade graduation doesn't seem that monumental to an adult, but for those 8th graders it is a big deal and its a last for them as they say goodbye to friendships they've had since kindergarten as they move on to different high schools. Its the closing of one door and the opening of another and the beginning of new adventures. Here's a couple of pictures of Morgan proudly wearing all his awards and medals he worked hard for and then another of him right before the big dance:


Tuesday, June 05, 2007
Altered Fairy Box
I bought a box of chipboard letters the other day and although I loved the letters it was the box that sold me! Yes I admit it I bought them for the box! My mind was running amuck thinking of all the things I could do with it, but in the end a fairy box won out.
I also added some rub-ons and used chalk inks around the edges...
Here is what it looked like before I altered it...

I first gave it a coat of gesso and then dry brushed some fluid acrylic paint over the gesso. Once that dried I spritz the inside and outside with Color Mists and heat set it.
I also added some rub-ons and used chalk inks around the edges...

...and then spritz the inside and out with Color Mists. Once it was dry I sealed it with PYMII.
I then added a strip of edging that I colored with Krylon gold leafing paint and added rhinestones to cover the holes.
I finished it off by adding some iridescent Angelina Fibers, a fairy, bird, and dried flowers and last but not least some wooden legs I colored with chalk inks.


This Fairy Box is for sale if your interested email me ($30.00)
SOLD
Doing a good turn....
If we are lucky we will encounter a person that is truly a genuine, selfless caring person that lives their life this way on a day to day bases. My friend Christy is just such a person and I am proud to call her my friend. Please check out her blog to read about the type of person she truly is.
http://artchickadee.typepad.com/art_chickadees_reflection/2007/06/do_whats_right.html#comment-71789976
Another person that I know makes it a habit to help others in need is my sister Kathleen, for some that may know her she may come across with a sometimes hard exterior but inside that facade she puts up she is a caring person. She's on the road a lot driving as a sales rep and the other day she encountered a gal that was broken down along side the road. The gal had sat there for quite awhile and nobody had stopped so she had finally decided to get out and "wave her hands" as she put it in her broken English and my sister stopped. She had a flat tire and I can't remember if she didn't have a cell phone or it wasn't' working but my sister called the tow company and explained where they were and then sat and waited with her until the tow truck driver came. This isn't out of the ordinary for my sister I have known her to do a good turn and help other people more times then I can count.
To both of them I give them my
Good Turn Award

Pass this award on to someone who you know deserves it!
Sunday, June 03, 2007
Well after looking at this piece with fresh eyes this morning I just wasn't' happy with it and felt it was missing something so I added my usual shading using a charcoal gray water soluble oil pastel then working it in with my finger (I first sealed the image with Microglaze from skycraft.com). I also added some white accents with a white sailor pen. Now I feel like it's done....this was one of those times that going back I think helped but I have had other times where I should have left well enough alone. (Scroll to the next post to see what it looked like before). Now that I'm happy with it I've sealed the complete card with PYMII (if you haven't used it I highly recommend reading about it and trying it out, its well worth the $!)

Saturday, June 02, 2007
I used the bingo card I colored earlier (see previous post) and the multi-colored background (two posts back), then added a sepia toned image I painted with gouache paints.
Fun in the Sun

I've been playing again with my Color Mist colors! I love Bingo cards and one of my favorite things to do to a vintage bingo card is to spritz it with various Color Mist colors and dry it with the heat gun. Then I go back over it with ColorBox Cat's Eye Fluid Chalk Inks (Primary Elements) to intensify the color even more. Below you can see a before and after picture unfortunately the scan doesn't show the great shimmer from the 22 Karat Gold Color Mist color that it has, but trust me its there.


**********************
Here's a picture of my son and hubby at the Scottish Highland games today, they thought they were stylin' wearing their high-top tennis shoes with their kilts LOL

And here they are hamming it up with my sister

Morgan and I


If you want to see more pictures from the
Scottish Games check out my sister's site:
Subscribe to:
Posts (Atom)